Hi, replacing the rear brake pads on the Honda CB500X is a 5-minute job that you can do yourself. All you need is an 8mm wrench, a 12mm wrench, a simple screwdriver, and new brake pads. Optionally, you can use grease and brake cleaner.
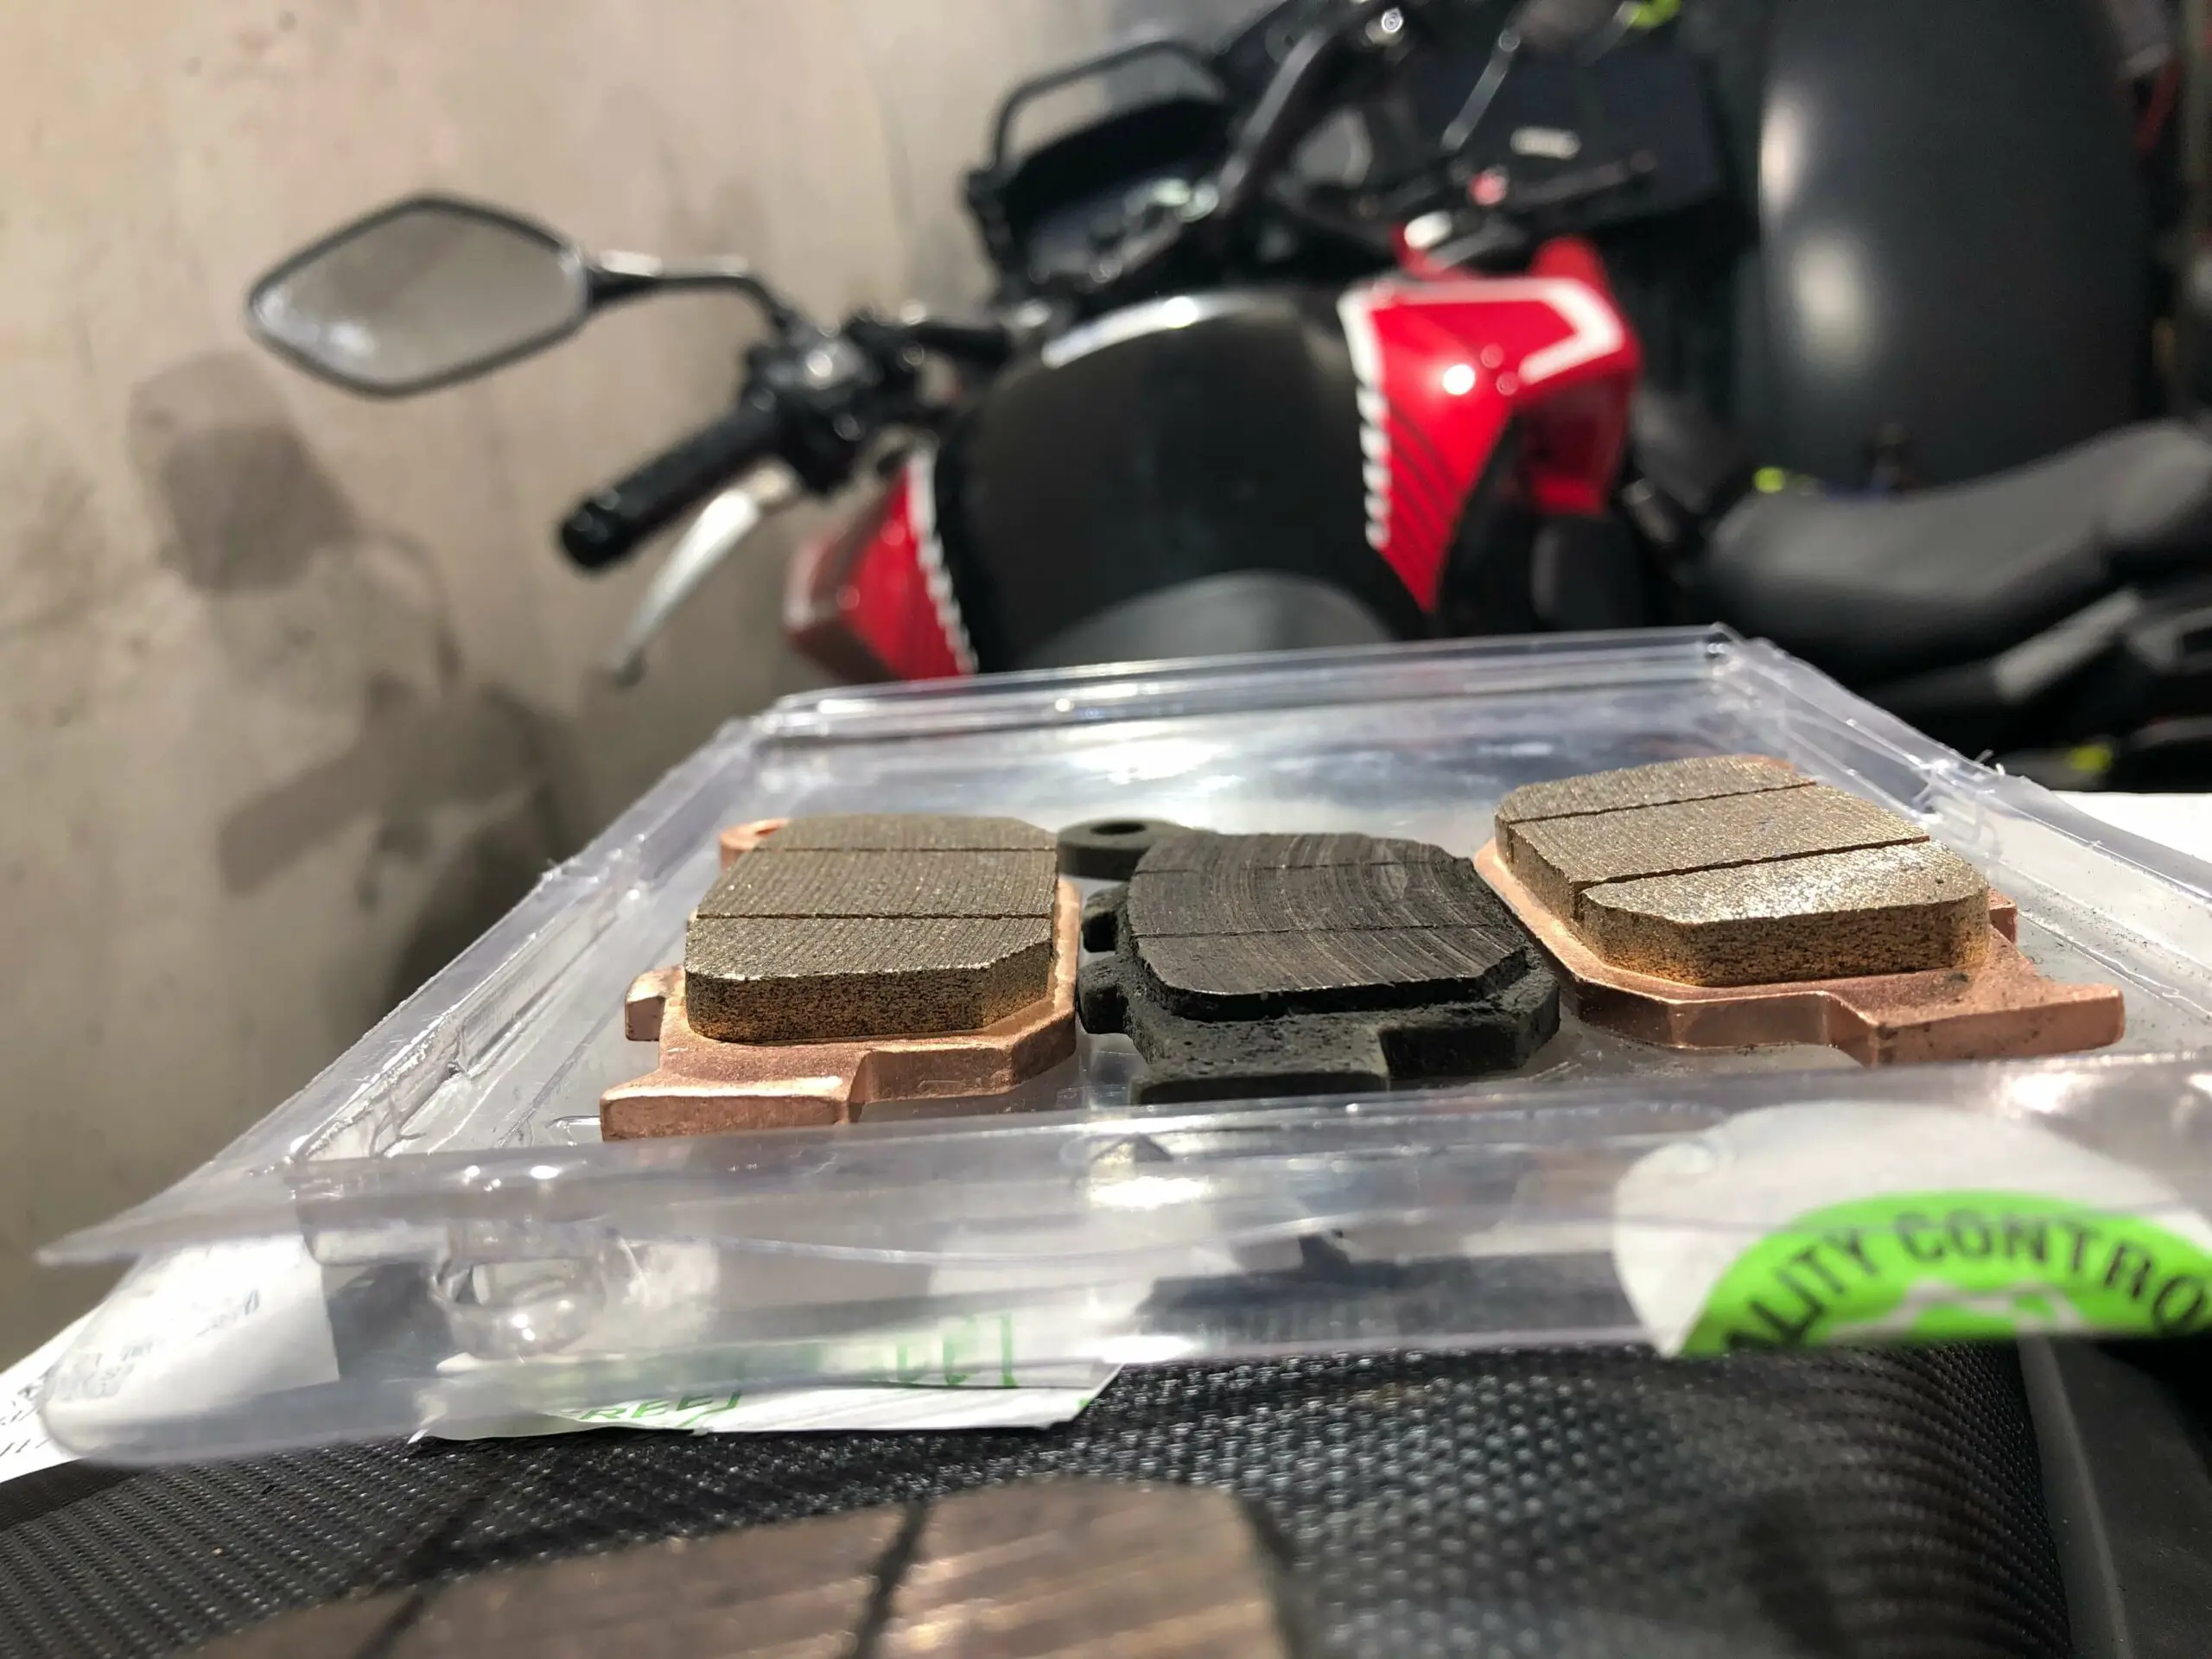
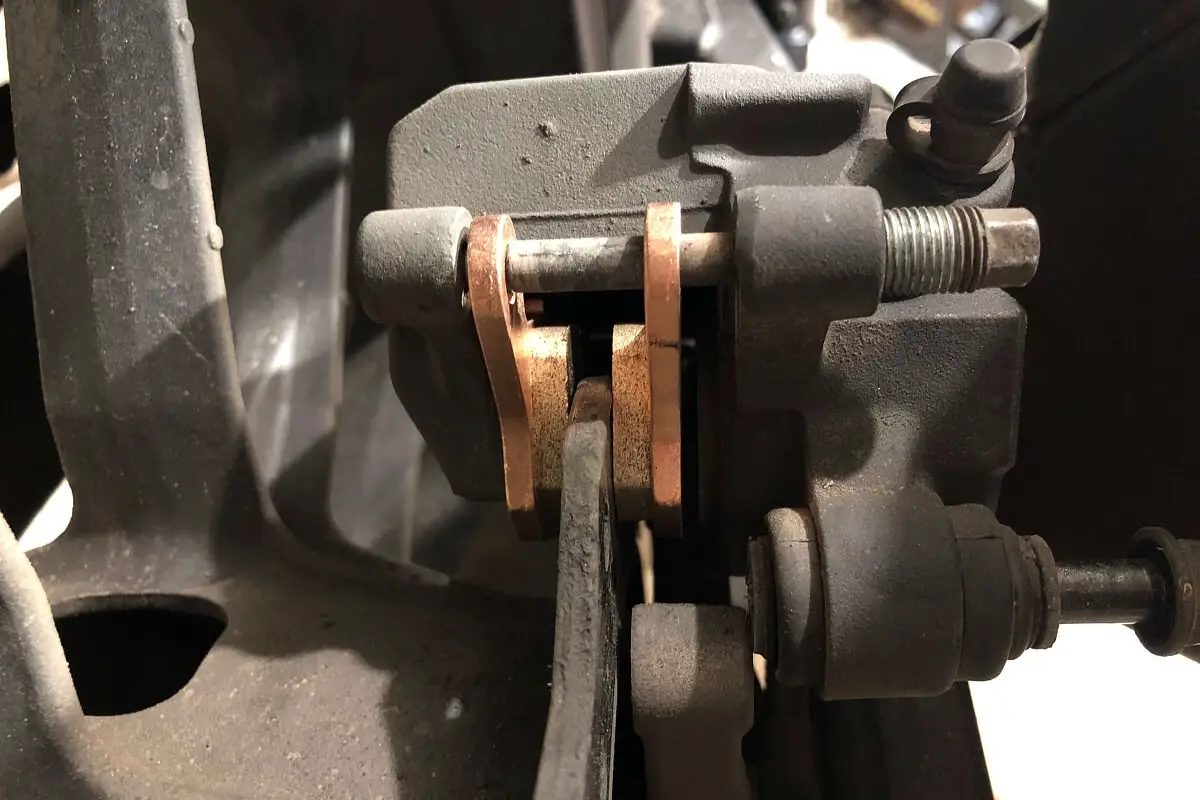
Here is what used brake pads look like. I can probably get another 2-3 k km out of these but I don’t want to think about it so I’ll just replace them.
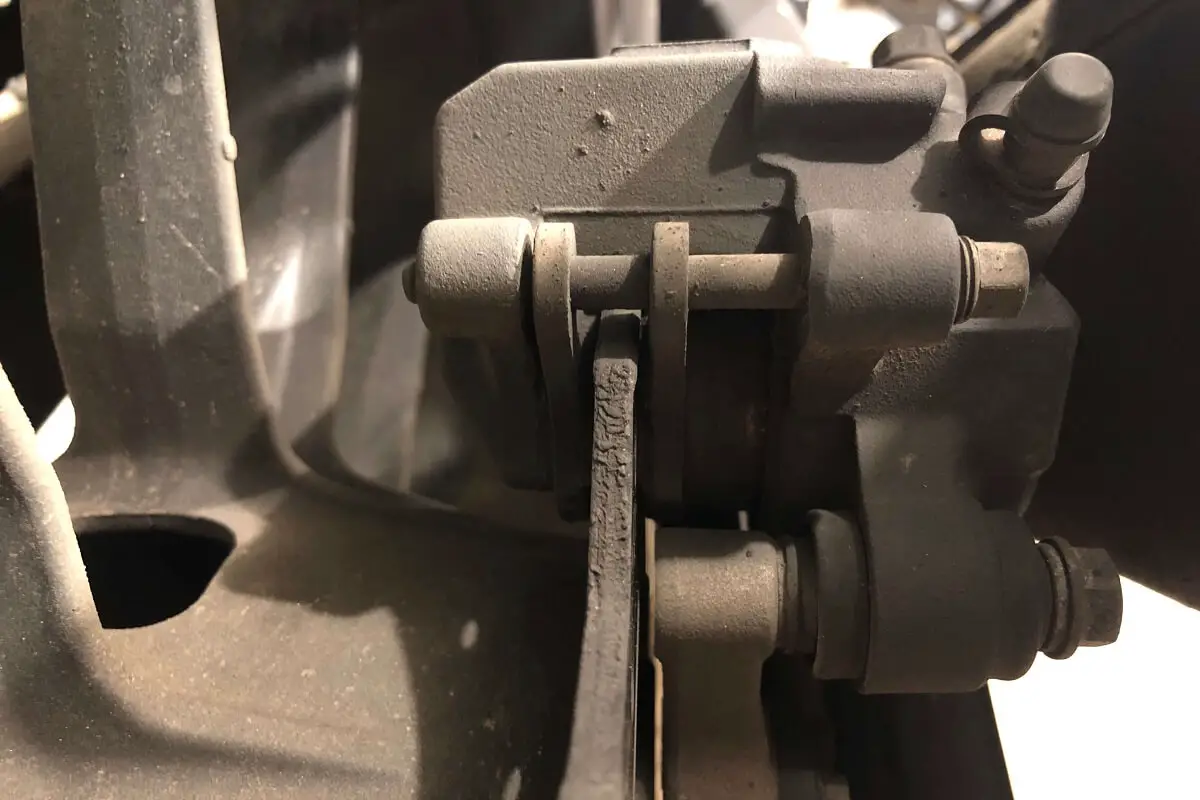
1 )First, let us use 8mm and 12mm wrenches to loosen the bolts that hold brake pads and brake caliper in place.
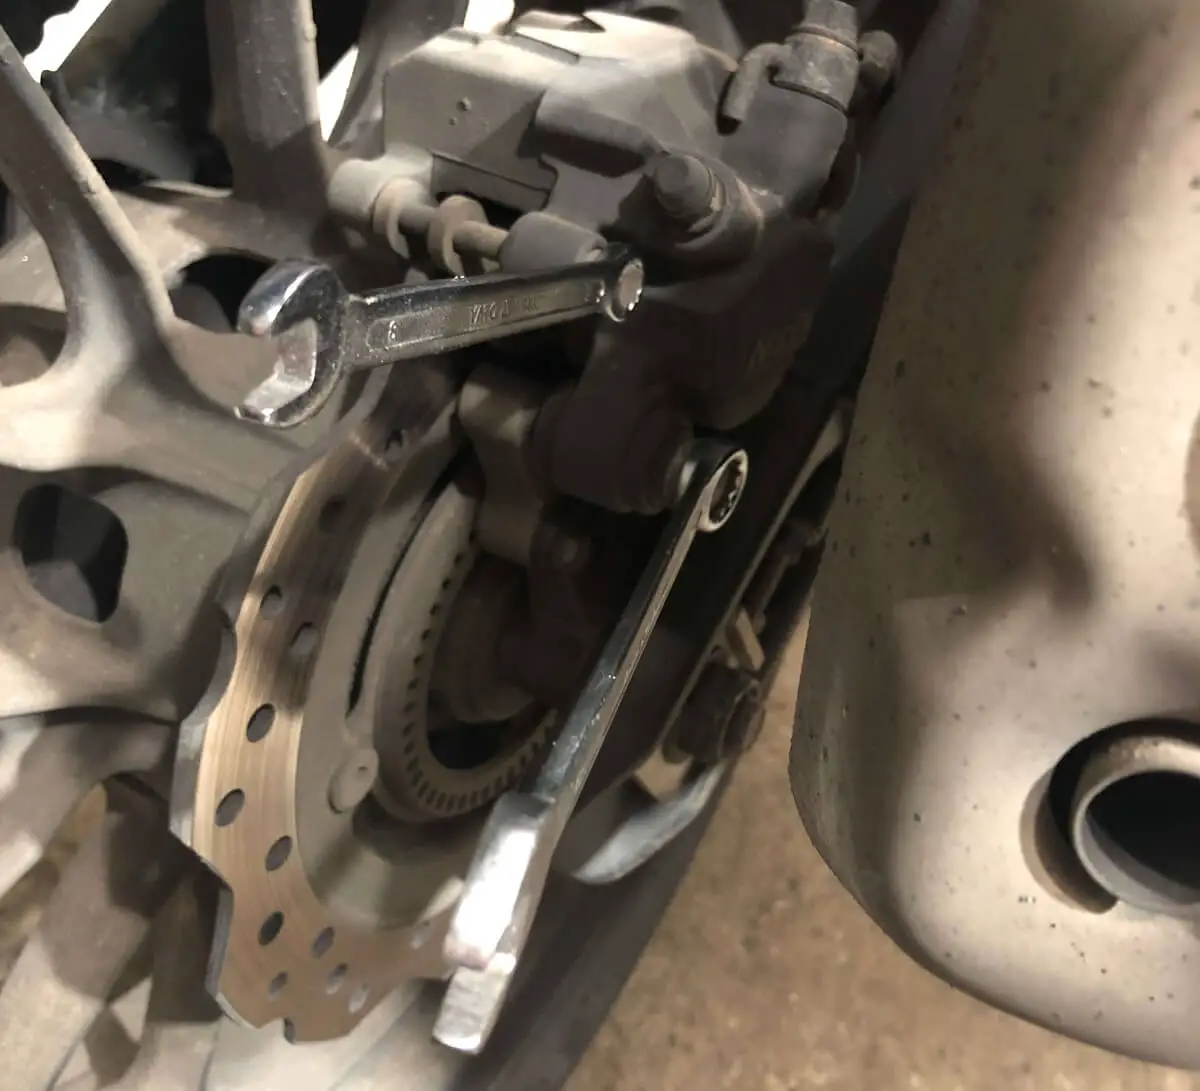
2) Now use a screwdriver to gently push on the right side brake pad to push the master cylinder inside. This is required so there is enough place for new thicker brake pads to fit inside.
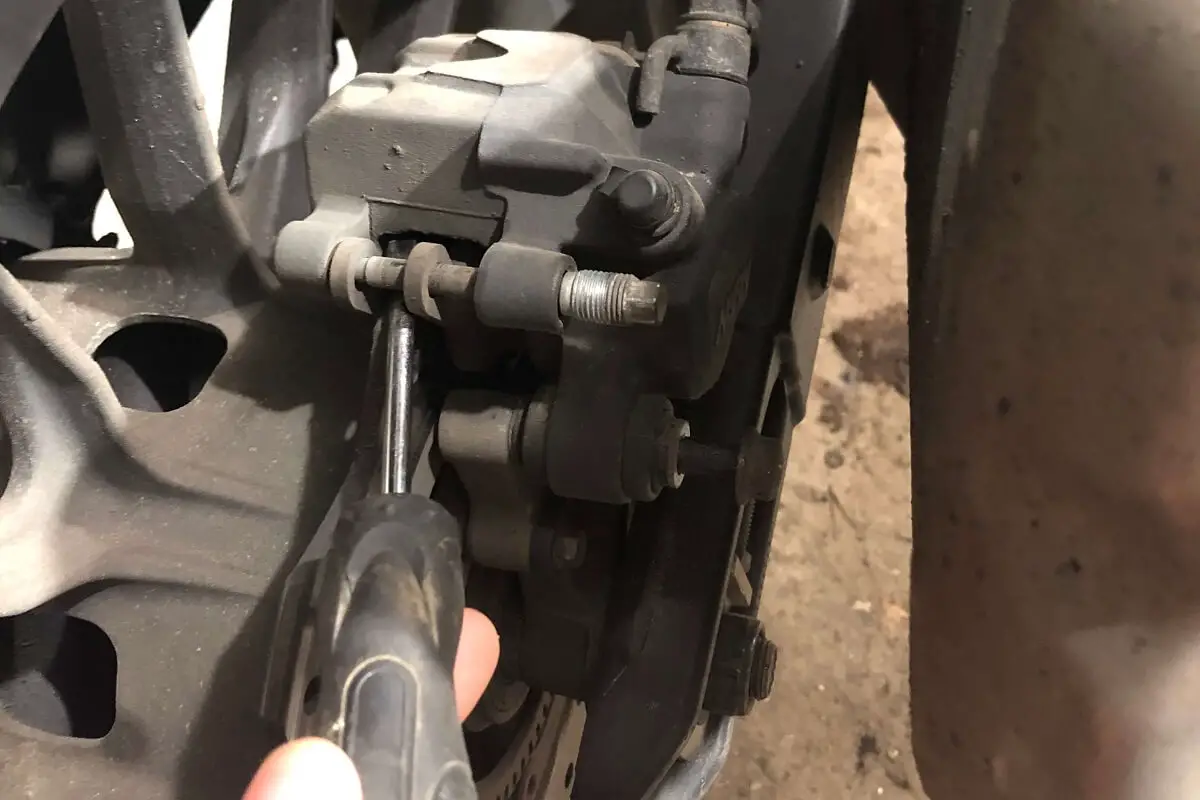
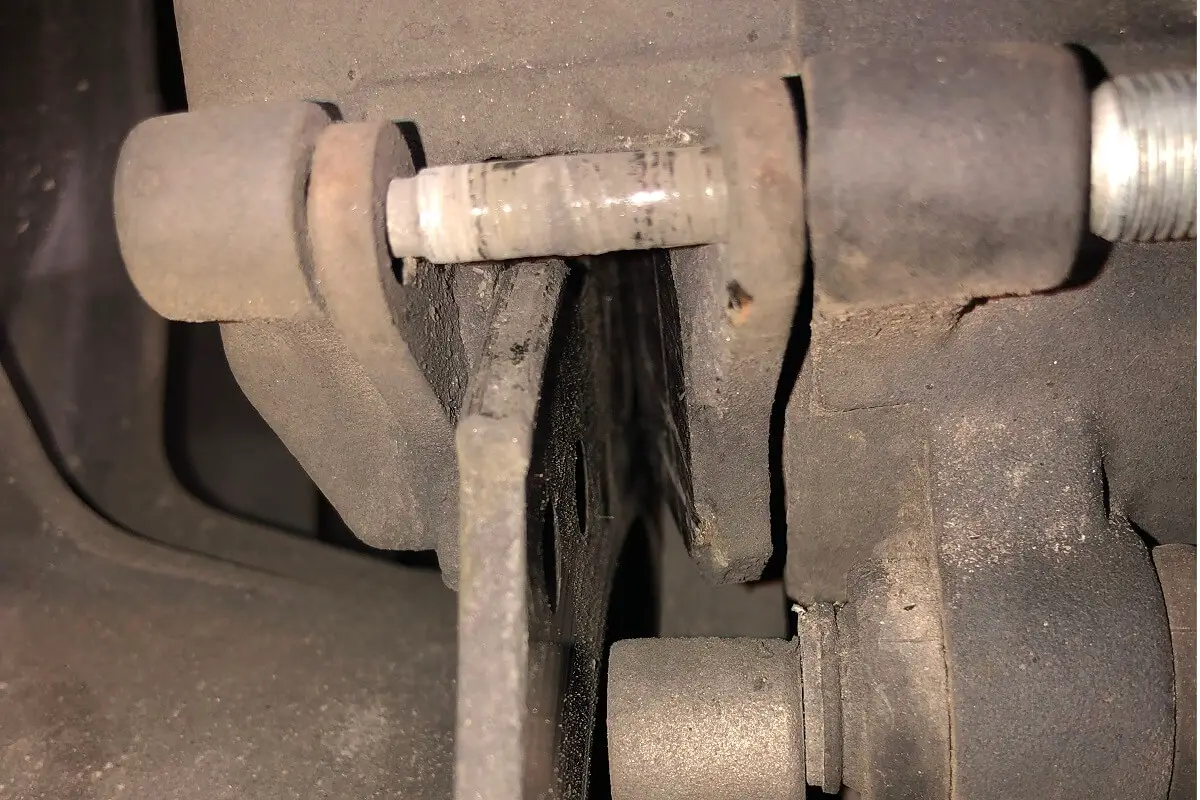
3) Now loosen these bolts and slide them out.
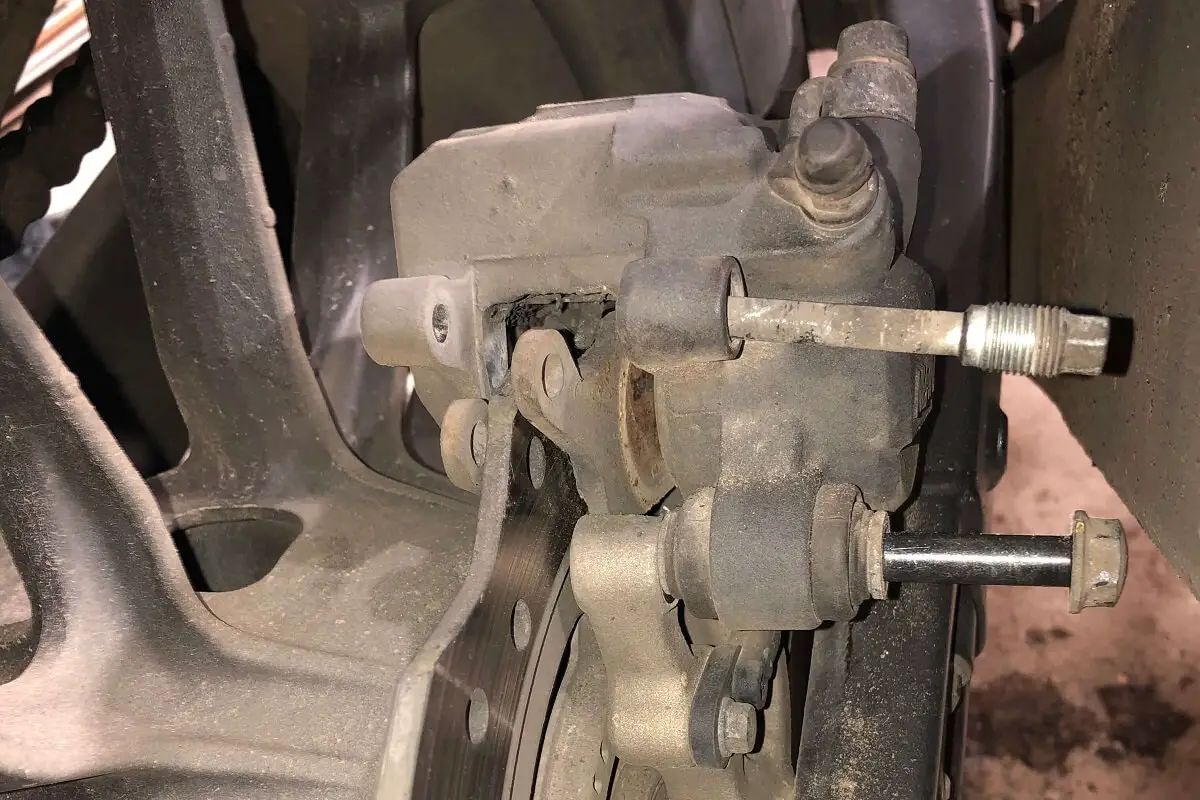
4) Lift the brake caliper and take out the old brake pads. Compare old brake pads with new ones to make sure new brake pads are the correct part.
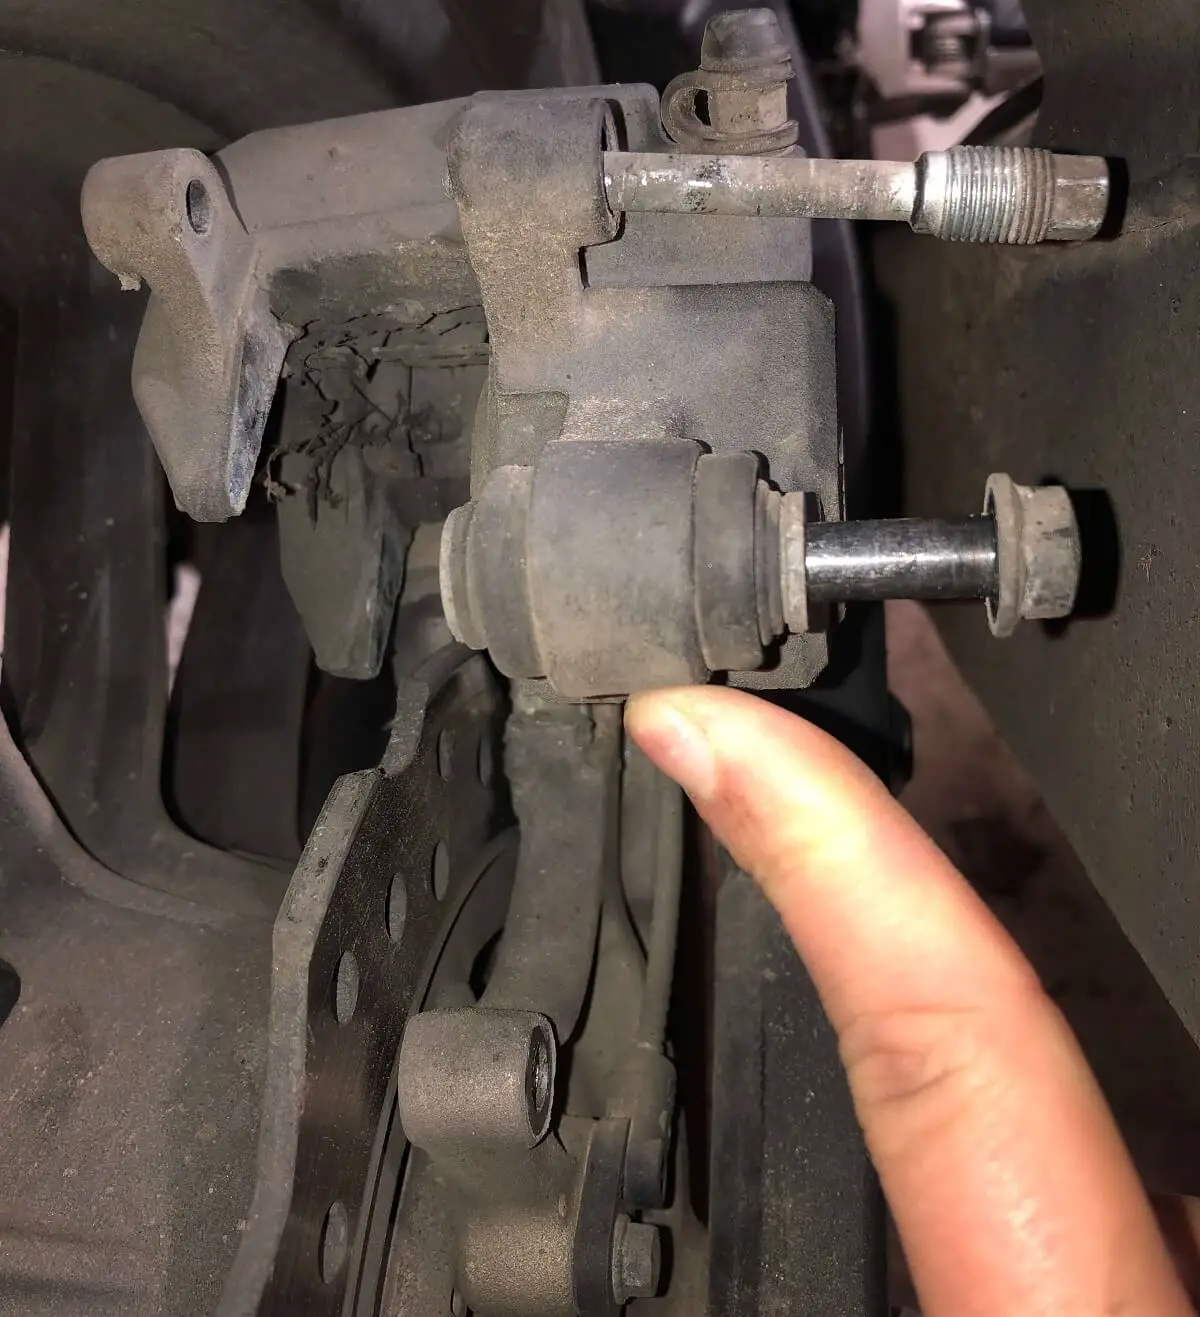
5) Now insert new brake pads into the caliper, insert the holding pin (upper bolt), and push the caliper down making sure that the front side of the new brake pads falls into the holding spot in the brake caliper mounting bracket.
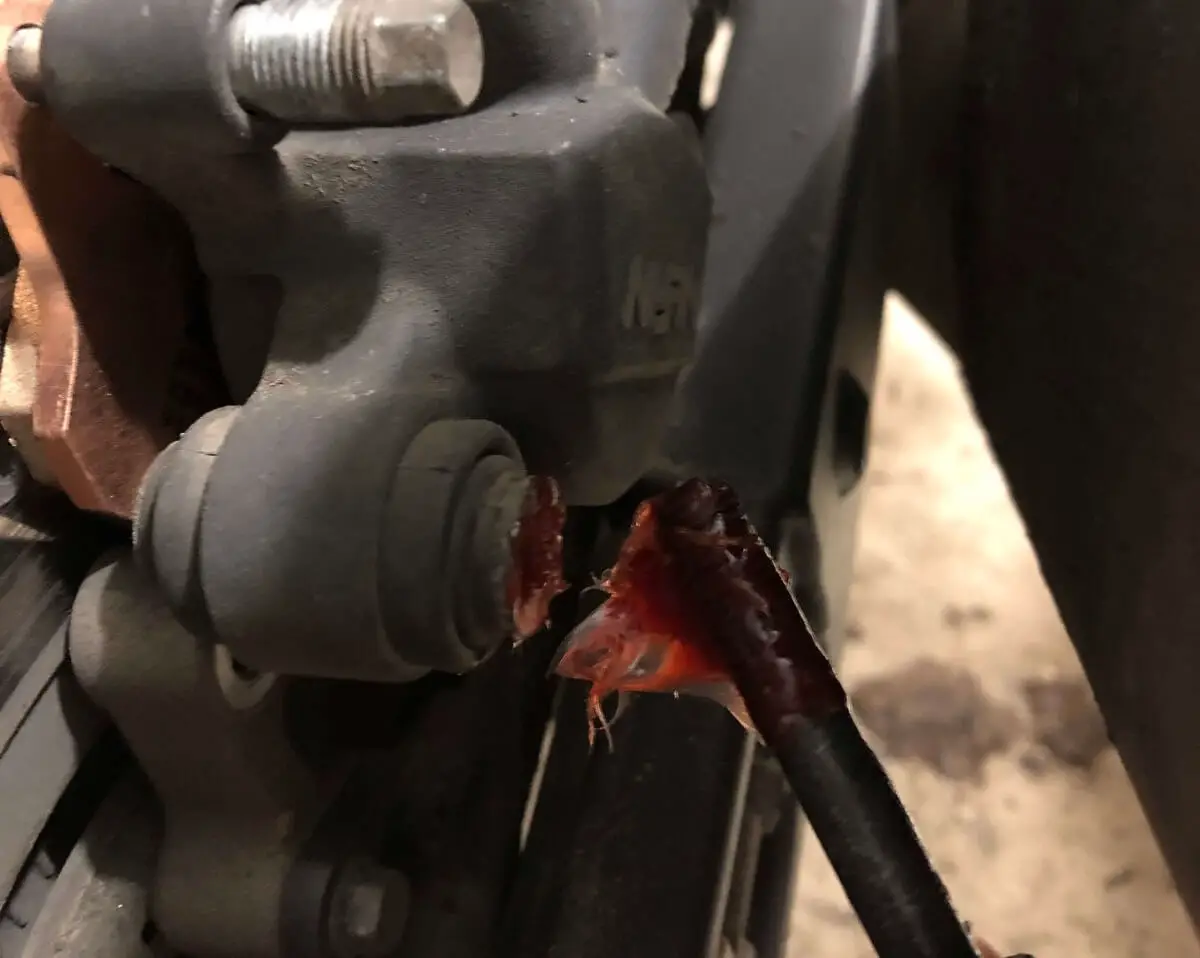
6) Screw in the bolts. Optionally you can apply a little bit of grease to both bolts to reduce corrosion and improve brake performance. When the brake pedal is pressed – the brake piston pushes onto the right side brake pad and the entire brake caliper slides slightly to the right side. If the bottom bolt is greased – the caliper slights better resulting in better braking performance and slower brake pad wear. In my case, I have applied too much grease and now I have to clean the excess grease with brake cleaner.
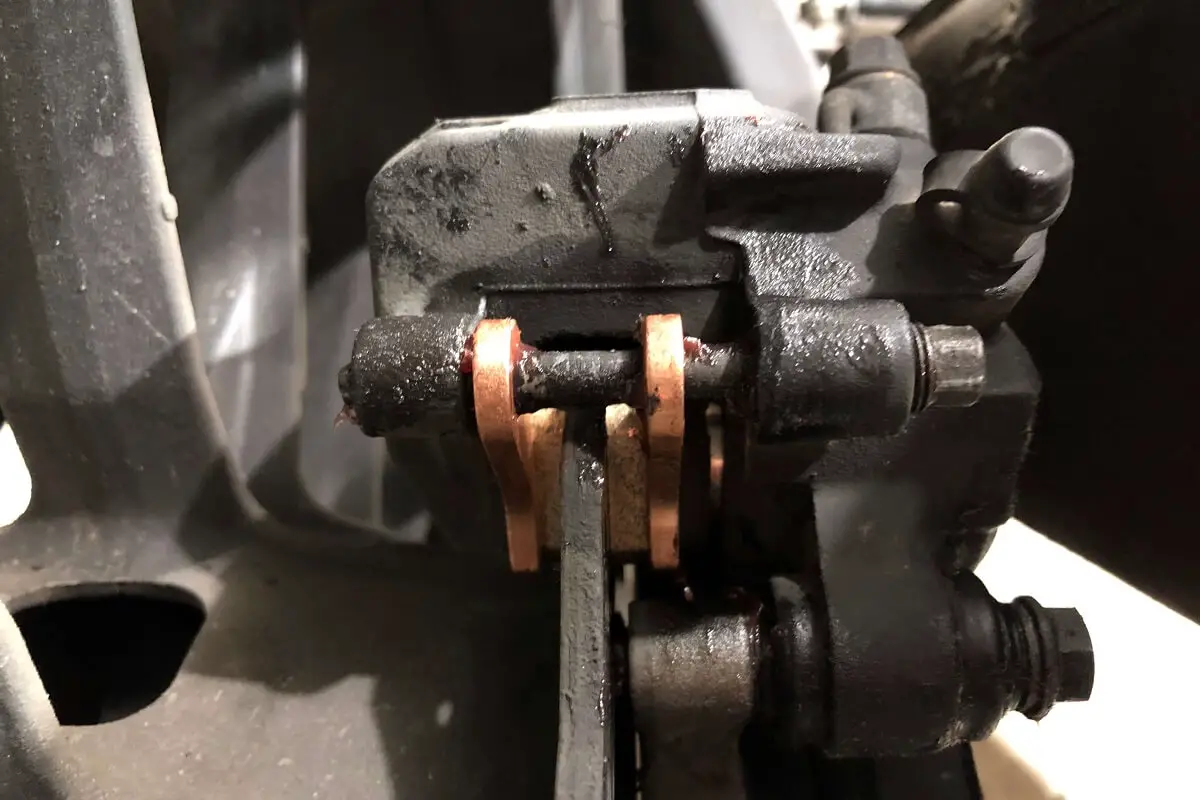
7) Finally. PRESS THE BRAKE PEDAL 10 TIMES. This is required to push the brake cylinder out to the position when it toucher the right brake pad. Otherwise, you won’t have a rear brake when you start riding. Don’t ask me how I know this.
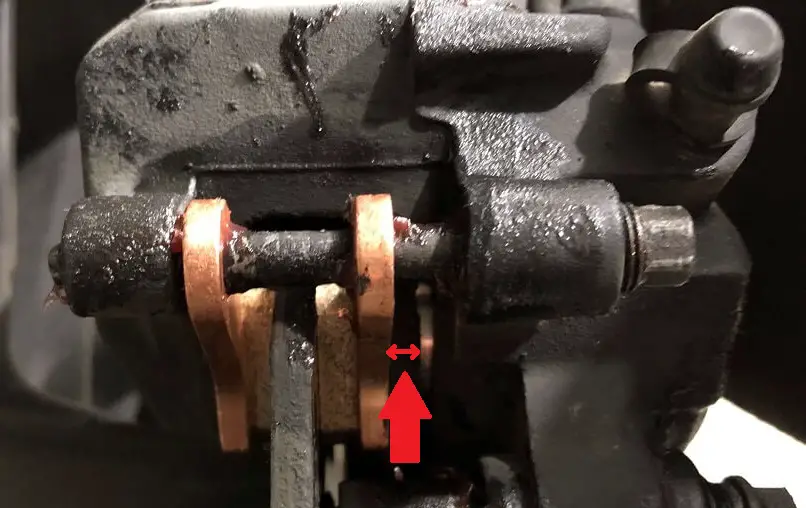
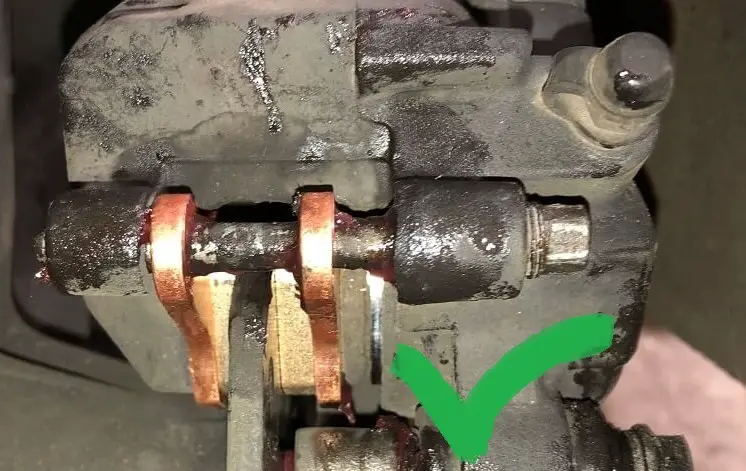
8) Now clean the brake caliper and disc with brake cleaner and press that brake pedal a few more times just in case. Happy riding.
