Hey There! 👋 If you are like me – you are probably pissed by the Honda’s, Yamaha’s, and Suzuki’s decision to put tubed wheels on the new Transalp, Tenere 700 World Raid, and V-Strom 800DE.
There are maybe 5 people on this planet who will actually benefit from the tubed wheels while rallying through Morocco or Mongolia. But everyone else, including myself, could not care less and gets nothing but headaches and anxiety from this.
For me personally the biggest con of the inner tube is the tube anxiety that I have developed. It makes me afraid to go traveling knowing that I have no skill to replace the tube on the side of the road.
Thankfully I have found 2 ways to solve this problem:
- The first option is to use the existing DIY tubeless conversion kit OR create your own using a smaller size tube.
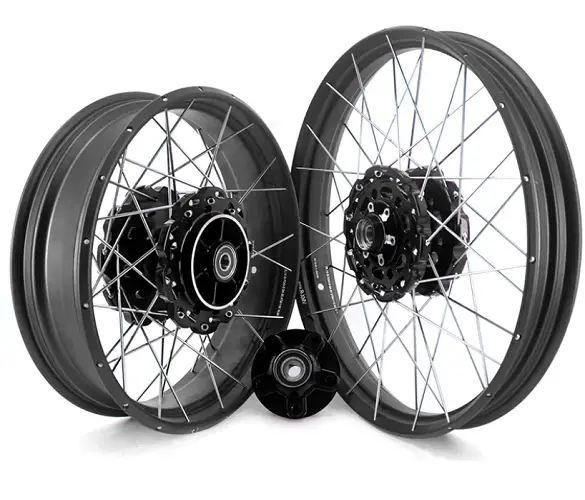
- The second option is to retrofit used tubeless wheels. For example, it is possible to fit tubeless wheels from Honda CRF1100L Adventure Sports onto the Transalp XL750 and they will fit perfectly. The challenge is to find a used wheel for a decent price that is not bent. You can also order the new tubeless wheels from Honda CRF1100 Africa Twin Adventure sports and fit them on Translap but the price is enormous.
Best Tubeless Kit For Stock Rims
Contents
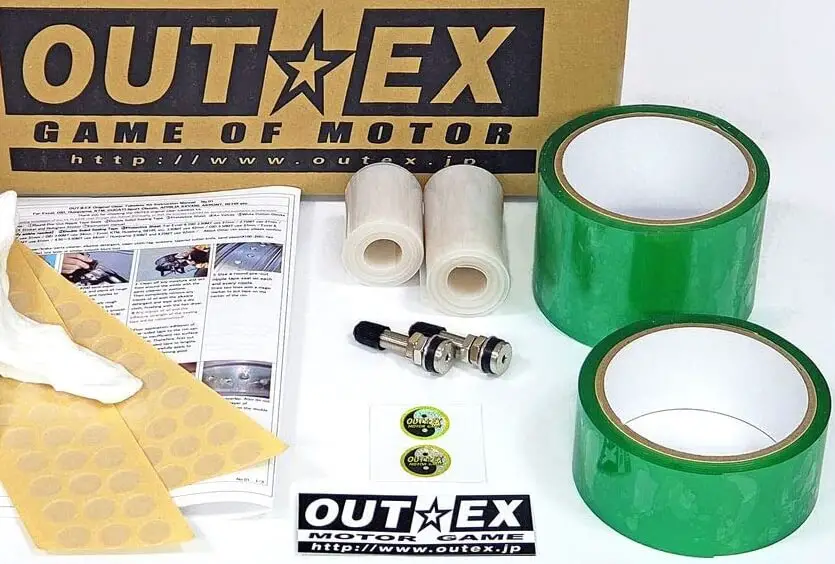
#1 Tubeless Conversion Kit
Benefits & Features
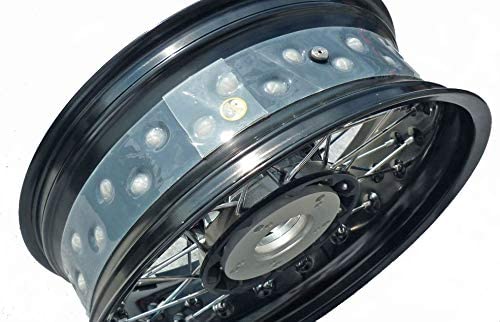
✅ It does work. For example, KTM uses exactly this approach to make their spoked wheels tubeless from the factory on the KTM 790 and 890 Adventure.
✅ This Kit comes with valves that are handy. I would prefer the angled valves since it makes it easier to pump tires but this is still okay.
✅ Has additional cushion stickers that are put on the spoke nuts before the tape is put on. These stickers cover narrow edges in the bolts making them less likely to cut through the tape. Especially if you will need to adjust spoke tension later on.
⚠️ Has to be replaced every 5 years. That is okay with me, just something to know about.
⚠️ Make sure to use the wider tape on the rear wheel and the narrow tape on the front wheel. There are reports of people misusing narrow tape on the rear rim and it does not have enough space on the outer edges of the spokes to make it reliable.
⚠️ Note that the wheel will have to be rebalanced after fitment, which has to be done anyway if you change tires or take them off the rim.
⚠️ One possible con is that if you damage the spoke nut – you’ll have to cut out the section of the tape covering that nut to replace it. I think that this section can be replaced afterward.
⚠️ Note that there is no Kit for V-Strom 800 but the CRF1000/Transalp one should fit with a little bit of scissor work on the rear wheel.
Worth Mentioning
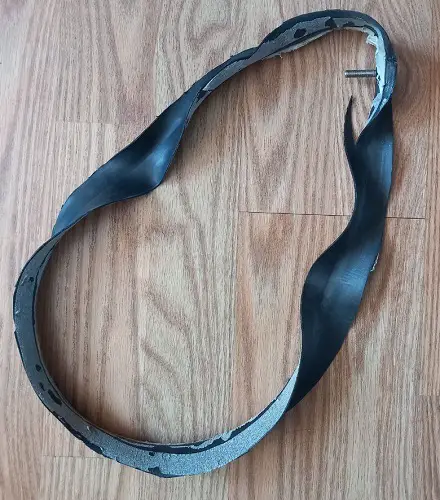
#2 DIY with a smaller size tube and Glue.
Has Valves: ✅ Yes
Duration: 5 years
Benefits & Features
✅ Get a 3 or 4 sizes smaller tube and cut out the central part with a Valve. For a 17 and 18-inch rim – the 14-inch wheel tube should be tight enough. For a 21-inch rim – get the 17-inch tube. After you cut out the central part – make sure to wash it and clean it with alcohol multiple times to get all the talcum powder off. Otherwise, it will reduce the glue adhesion.
✅ You get the integrated valve that comes with a tube so that is one item less to buy.
✅ The cutout tube section will fit snuggly on the rim improving the “tubelessness” effect.
✅ Once the cutout tube section is pulled over the rim – roll up the sides of the tube and apply glue to both rim and tube and roll the tube back. Make sure to apply more glue around the valve. Wait a couple of hours depending on the glue instructions and you can mount the tire back. Make sure the tires you are mounting are actually tubeless tires.
⚠️ [IMPORTANT] Once again – make sure to clean both tube and rim from talcum powder. Spend your time on this.
⚠️ What about the hump? The hump is a flange inside the rim that serves as a safety feature and reduces the chance of a tire coming off the rim in the case of sudden deflation or during high-speed cornering when the tire is under significant pressure.
The tubed-type rims don’t have this hump. However, in my experience, the beed is usually so strong that even deflated tire won’t come off anyway.
Secondly, tubeless conversion greatly reduces the chance of sudden deflation since it will take more time for air to escape and you will notice low pressure before it gets too low. You can get a wireless tire pressure monitoring system for peace of mind if it bothers you.
And thirdly, the tube does not compensate in any way for the hump so there is no difference anyway.
The Bottom Line
Tubeless conversion is a great way to get rid of tube anxiety. If you are afraid that tubeless conversion will fail and leak air – you can bring your stock tubes with you on a trip just in case.
Tubeless conversion reduces the speed at which the tire leaks air. In some cases, it may take several hours before tire pressure drops too low, so you may have plenty of time to notice it and get to the tire service shop.
Additionally – you can get a wireless tire pressure monitoring system that will alert you in advance if the tire pressure is dropping. And portable air pump is handy if you get a tire puncture in a remote area with low traffic so you won’t be able to simply stop a passing car and ask for a tire pump.
Finally, after the tubeless conversion is done – simply put the tubeless tire repair kit under your seat.
